This weekend I got a phone call from someone who saw my Craig’s List ad. Sadly, he didn’t want to buy plants. He wanted to know how to build the hoop houses that are protecting the plants I have for sale. I did the best I could to explain over the phone, which isn’t saying a whole lot. So, I promised that I would post pictures and instructions on my blog today (Monday 6/11/12).
So, while my tomatoes are in desperate need of staking (started and not finished yesterday), and it is nice a cool and a great time to be working on all the squeaky wheels outdoors…I’m going to keep my promise.
We started with a 4X8 foot (empty) raised bed.
6 pieces of re-bar and 4 – 10 foot pieces of ¾ inch PVC pipe…oh, and some black electrical tape.
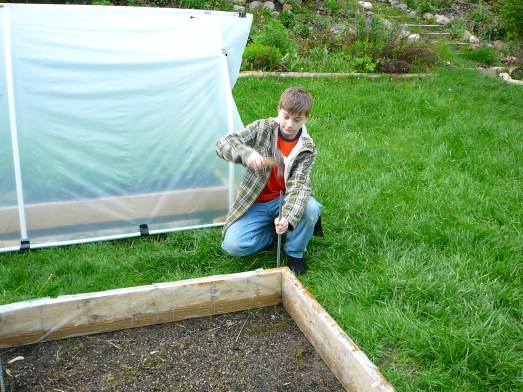
Then we drove 2 foot re-bar at each corner…
…and the center of each 8 foot side.
Next, we bent the 10 foot long ¾ inch schedule 40 PVC pipe to the re-bar that was just driven into to the ground…
…until there were three hoops over the bed.
On the earlier beds I did mark center on the pvc I was going to use as ribs..but due to the unevenness of the land outside of the beds, what was center by measurement when straight wasn’t necessarily center when bent over the bed.
So, for our one and only purline, we centered the PVC pipe as best we could by sight. We secured it with black electrical tape…
…we continued taping the purline to the ribs until we had the purline attached to each of the three ribs. We finished this part up, just in time for the rain, and continued the project the following day.
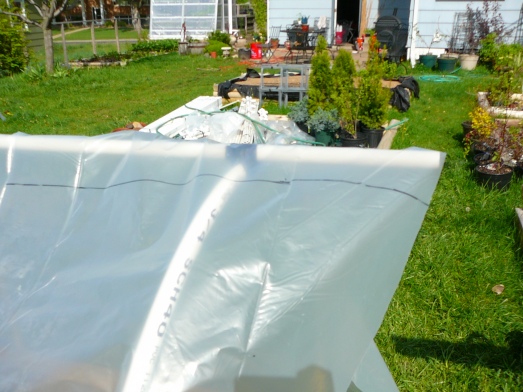
For the skinning, first I got all my stuff together – 10 Foot wide plastic sheeting, large binder clips, tape measure, duct tape, scissors, 2-10 Foot ½ inch pieces of electrical conduit, and a square (not pictured here).
I measured out 11.5 feet of plastic sheeting.
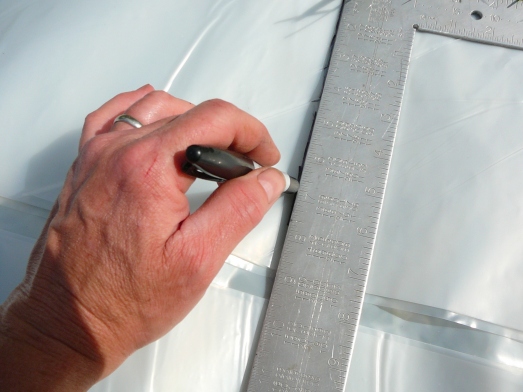
Drew a straight line…
…And cut it.
I Folded the cut piece in half and Marked middle to help center later.
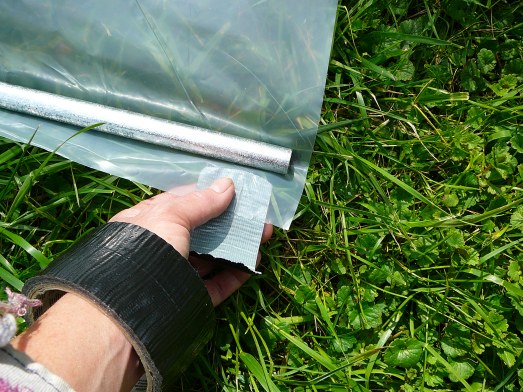
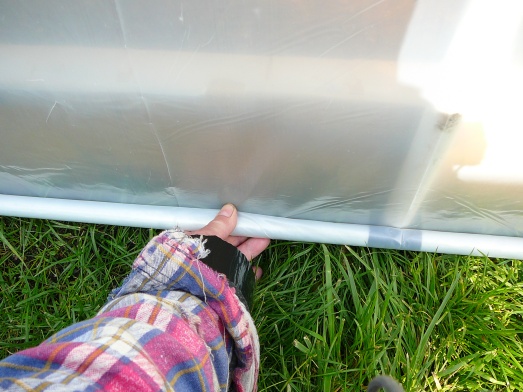
Then opened it up so I could attach the 10 foot ½ inch electrical conduit to what will be the bottom of the sides.
I got the ends fairly secured to the conduit…
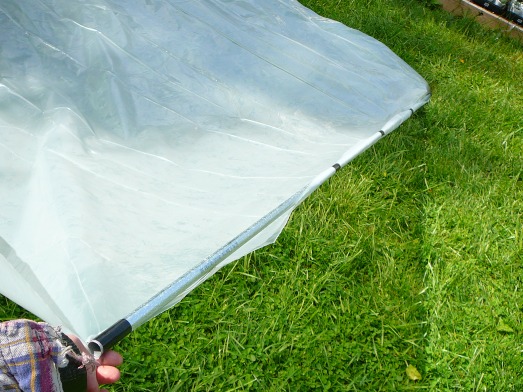
And rolled it up…
…to make getting it over the hoops easy.
Using the marks, I centered the sheet.
I attached the binder clips to hold sheet in place.
Then I got to work on finishing up the sides.
NOTE: Over time, the duct tape lost its sticky. If I were to do this over again I would have made a hole (I would use a soldering iron, but anything that would make a hole would work) through the center of the tape, so I could thread a string or bread-tie-type-something-or-other through the hole and secure it around the conduit.
I had some used landscape fabric staples from last year that were almost the perfect thing to use to hold the sides up.
This is a piece of an old destroyed tomato cage that I bent in half. They are longer than the landscape fabric staples and there’s a little hook on the end which keeps the wind from working them loose.
The sides can be rolled all the way up to completely open the hoop house…
…or they can just be raised half way (providing a little shade for the plants) by just picking up the conduit and fastening to the purline with the staple or whatever you’ve made to do that job.
I found that two binder clips securing the plastic to the purline was sufficient. However, I did find it necessary to have the ends secured with two clips, one close to the bottom, and the second mid-way to keep the plastic secure during heavy winds.
Now, that I’ve kept my promise…I have to add my comments.
These hoop houses were made due to sheer necessity. The unseasonably warm spring caused my plants to outgrow my greenhouse quickly and I had to do something.
I was not in a position to pay for, nor was I in the market, for a more sustainable solution. So, because I only needed something very temporary, the fact that the plastic sheeting and the PVC pipe will degrade and become brittle from UV exposure was not an issue for me this year.
Let me repeat that last part: PLASTIC SHEETING AND PVC PIPE WILL DEGRADE AND BECOME BRITTLE FROM THE UV RAYS OF THE SUN. The plastic will not last a full summer. The PVC pipe will more than likely shatter if left in place through the Minnesota winter, and will more than likely break when re-bent if stored to use the next year.
However, due to the short Mid-Western growing season and the fact that it can get hotter here than it ever thought about being in Baton Rouge, I will most certainly employ a structure over my kitchen garden raised beds (when we finally own dirt that’s not in a pot).
The structure(s) will more than likely be made from wood…but I may use metal…whatever I use will last a lot longer than PVC pipe for sure. It will be shaped like a little house with a pitched roof instead of a hoop.
I want the roof covering to be permanent, and have rain gutters that feed a water barrel. The roof will more than likely be made of the same type of twin walled polycarbonate panels that I used for my greenhouse (purchased from Menards), because they are incredibly inexpensive…but I would much prefer to use sliding glass door glass, I just don’t know how feasible that would be.
For the sides (all 4), I will use greenhouse plastic that has UV protection. The sides will be able to be rolled up and will also be able to be removed completely. I will also use shade cloth to protect the plants in the height of summer.


